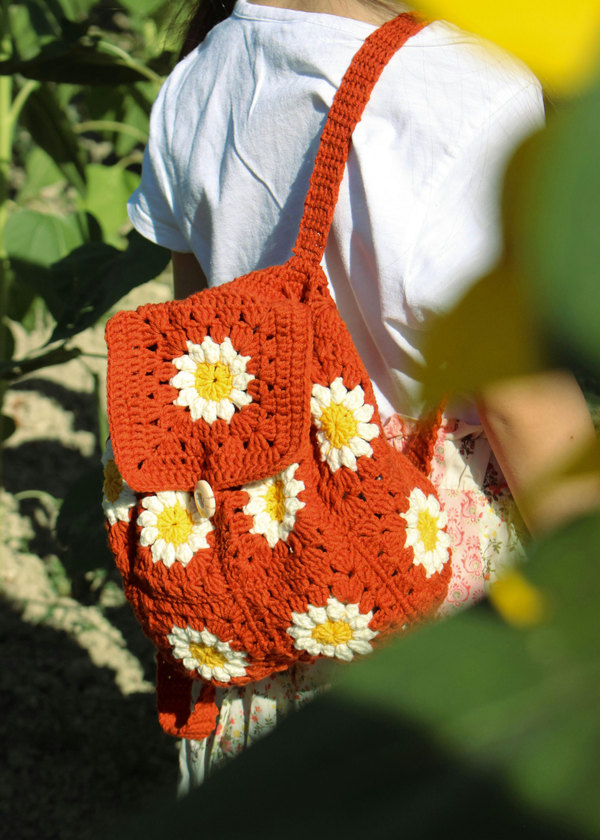

Crochet bags are a delightful blend of creativity and functionality. They come in various shapes, sizes, and patterns, making them a favorite among crafters. However, a common question that arises is: Do crochet bags need to be lined? This article will delve into the reasons for lining a crochet bag, the materials needed, and a step-by-step guide to achieve a polished finish.
Why Line a Crochet Bag?
Lining a crochet bag is not just about aesthetics. It provides structure, prevents stretching, and ensures that small items don't slip through the crochet stitches. A fabric lining can also protect the bag's contents from the elements, adding an extra layer of durability.
Moreover, a lined crochet bag can handle more weight without losing its shape. This is particularly important for larger bags or those intended for carrying heavier items. The lining acts as a support system, maintaining the bag's integrity over time.
Choosing the Right Fabric for Lining
Selecting the appropriate fabric lining is crucial. Cotton is a popular choice due to its durability and ease of handling. Silk, while luxurious, can be slippery and challenging to work with. The fabric should complement the crochet bag's color and texture, enhancing its overall appearance.
When choosing the fabric, consider the bag's intended use. For everyday bags, a sturdy cotton lining is ideal. For special occasions, a silk or satin lining can add a touch of elegance. Ensure the fabric is pre-washed to prevent any shrinkage after sewing.
Tools and Materials Needed
To line a crochet bag, you'll need a few essential tools and materials. These include a sewing machine, sewing needle, thread, fabric lining, scissors, pins, and an iron. A measuring tape and a pencil for marking measurements are also handy.
Having the right tools ensures a smooth and efficient process. A sewing machine can speed up the task, but hand sewing with a whip stitch is also an option for those who prefer a more hands-on approach. Pins help keep the fabric in place, ensuring precise seams.
Measuring and Cutting the Fabric
Accurate measurements are the foundation of a well-lined bag. Measure the width and length of the crochet bag, adding a half inch seam allowance on all sides. This extra fabric ensures that the lining fits snugly inside the bag without being too tight.
Once you have the measurements, use a pencil to mark the fabric. Cut two pieces of fabric according to these measurements. These pieces will form the front and back of the lining. Ensure the edges are straight and even for a professional finish.
Sewing the Lining
With the fabric pieces cut, it's time to sew them together. Place the right sides of the fabric together and pin the edges. Sew along the sides and bottom, leaving the top edge open. Use a half inch seam allowance for a secure seam.
If you're using a sewing machine, set it to a straight stitch. For hand sewing, a whip stitch works well. Once the sides and bottom are sewn, press the seams with an iron to flatten them. This step ensures the lining sits neatly inside the bag.
Attaching the Lining to the Bag
Turn the sewn lining right side out and place it inside the crochet bag. Align the top edges of the lining and the bag. Pin the lining in place, ensuring it fits snugly. The top edge of the lining should be flush with the top edge of the bag.
Sew the lining to the bag using a whip stitch or a sewing machine. If using a machine, sew close to the top edge for a clean finish. Ensure the stitches are even and secure. This step anchors the lining, preventing it from shifting during use.
Adding Pockets and Compartments
For added functionality, consider adding pockets to the lining. Cut additional fabric pieces for the pockets, ensuring they are slightly smaller than the lining. Sew the pockets to the lining before attaching it to the bag.
Pockets can be sewn in the same manner as the lining, with a half inch seam allowance. Attach them to the lining with a straight stitch, ensuring they are secure. Pockets provide convenient storage for small items, enhancing the bag's usability.
Finishing Touches
Once the lining is attached, inspect the bag for any loose threads or uneven seams. Trim any excess fabric and press the top edge with an iron for a crisp finish. These final touches ensure the bag looks polished and professional.
Consider adding a zipper or button closure for added security. A zipper can be sewn along the top edge, while a button can be attached to the front of the bag. These closures keep the bag's contents secure, adding to its functionality.
Case Study: Lining a Rectangular Crochet Bag
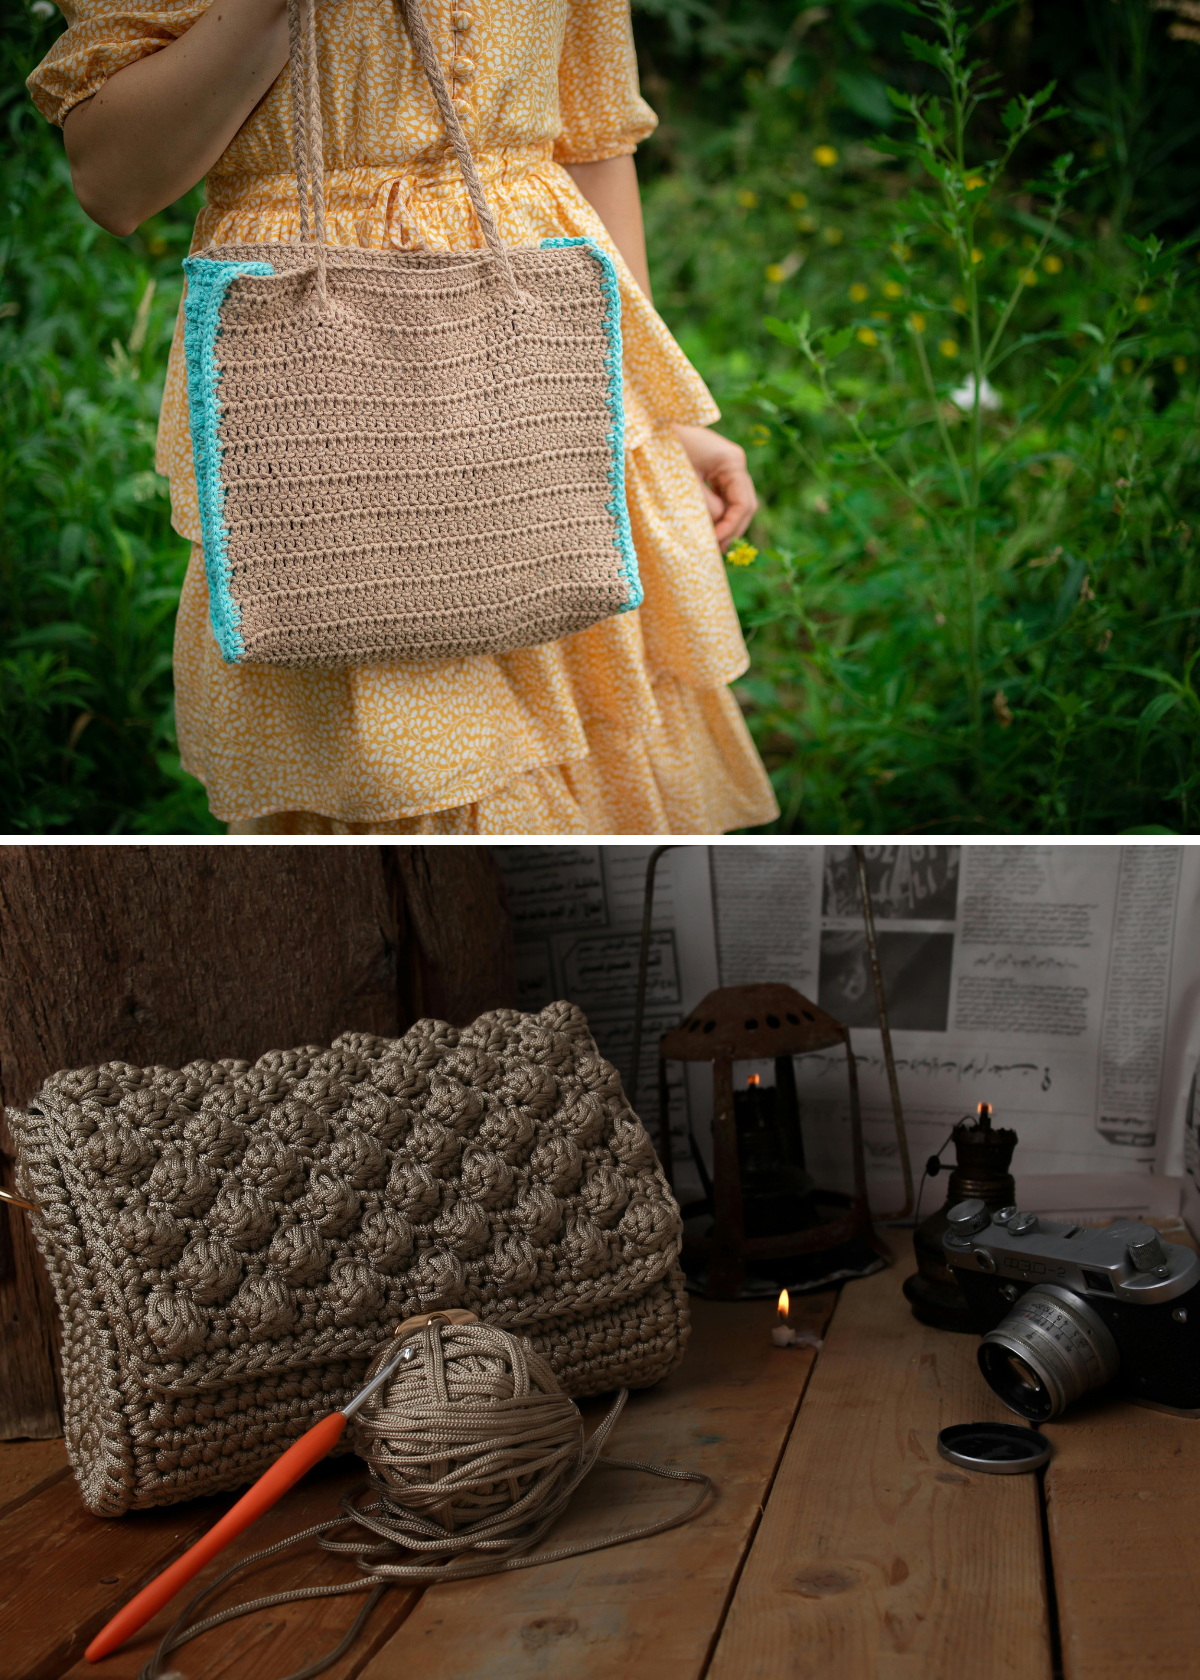
Let's take a closer look at lining a rectangular crochet bag. This shape is common and versatile, making it a great example. Start by measuring the bag's width and length, adding a half inch seam allowance on all sides.
Cut two pieces of fabric according to these measurements. Sew the sides and bottom together, leaving the top edge open. Turn the lining right side out and place it inside the bag. Pin the top edges together and sew them in place. This simple process transforms a basic crochet bag into a functional and stylish accessory.
Common Mistakes to Avoid
One common mistake is not adding a seam allowance when cutting the fabric. This can result in a lining that is too tight or too loose. Always add a half inch seam allowance to ensure a proper fit.
Another mistake is not pre-washing the fabric. Unwashed fabric can shrink after sewing, causing the lining to pull away from the bag. Pre-wash the fabric to avoid this issue and ensure a smooth, even lining.
Tips for a Professional Finish
For a professional look, press all seams with an iron. This step flattens the seams, ensuring the lining sits neatly inside the bag. Use a straight stitch for clean, even seams, and trim any excess fabric for a tidy finish.
Consider using a fabric that complements the crochet bag's color and texture. A well-chosen fabric enhances the bag's overall appearance, making it look polished and cohesive. Pay attention to details like even stitches and secure seams for a high-quality finish.
Benefits of Lining a Crochet Bag
Lining a crochet bag offers numerous benefits. It adds structure, preventing the bag from stretching out of shape. A lined bag can handle more weight, making it more versatile and functional.
Additionally, a fabric lining protects the bag's contents from the elements. It prevents small items from slipping through the crochet stitches, ensuring everything stays securely inside. A lined bag is not only more durable but also more practical for everyday use.
Step-by-Step Tutorial for Lining a Crochet Bag
- Measure the width and length of the crochet bag, adding a half inch seam allowance on all sides.
- Cut two pieces of fabric according to these measurements.
- Place the right sides of the fabric together and pin the edges.
- Sew along the sides and bottom, leaving the top edge open.
- Turn the lining right side out and place it inside the bag.
- Pin the top edges of the lining and the bag together.
- Sew the lining to the bag using a whip stitch or a sewing machine.
- Press the top edge with an iron for a crisp finish.
FAQs
1. Can I line a crochet bag without a sewing machine?
Yes, you can line a crochet bag without a sewing machine. Hand sewing with a whip stitch is a viable option. It may take a bit longer, but the results can be just as effective.
2. What type of fabric is best for lining a crochet bag?
Cotton is a popular choice for lining crochet bags due to its durability and ease of handling. Silk or satin can be used for a more luxurious finish, but they can be more challenging to work with.
3. How do I prevent the lining from shifting inside the bag?
To prevent the lining from shifting, ensure it is securely sewn to the top edge of the bag. Using pins to hold the lining in place while sewing can also help achieve a snug fit.
Conclusion
Lining a crochet bag is a simple yet effective way to enhance its durability and functionality. With the right tools and materials, you can create a professional-looking bag that stands the test of time. Whether you're a seasoned crocheter or a beginner, lining your crochet projects adds a touch of sophistication and practicality.